If you remember in Wednesday's post I told you that I would let you know about those pretty boxes on the shelf in the nursery.
Well, here is how we did them. (Okay, let's be honest here - Mountain Man did most of the work on this project. but it's a team effort, right? No, okay, I'll give him the credit - just don't tell him.)
Melissa had the idea that she wanted to cover some boxes so she could have some decorative storage in the nursery. She had looked at decorative boxes in several different stores but didn't want to pay the price they were asking ($15.00 for a box - really????). So, she asked me if I thought she could cover diaper boxes. I said "Sure we can!"
So, she collected a couple of diaper boxes from her friends that already have babies. At first we talked about covering them with scrapbook paper, but after I saw the size of the boxes she wanted to cover, I thought that material would be a better bet - and a whole lot easier! When we were in Lakeland last weekend we went to Hobby Lobby and she bought some material she liked and we thought would look good in the nursery (on sale for 30% off!).
Now, she still was going to do the project herself, but I suggested that we use fabric adhesive, instead of the glue she was going to use. I just thought that it would make the project so much easier and quicker. However, she sure didn't need to inhale the adhesive fumes. So, it went from her project to ours.
Saturday afternoon Mountain Man decided that he wanted to get this little project cranked out. So off we headed to the garage/workshop.
First thing he had to do was cut the large box in half - we needed to make two boxes out of one. All ready.
 .
.
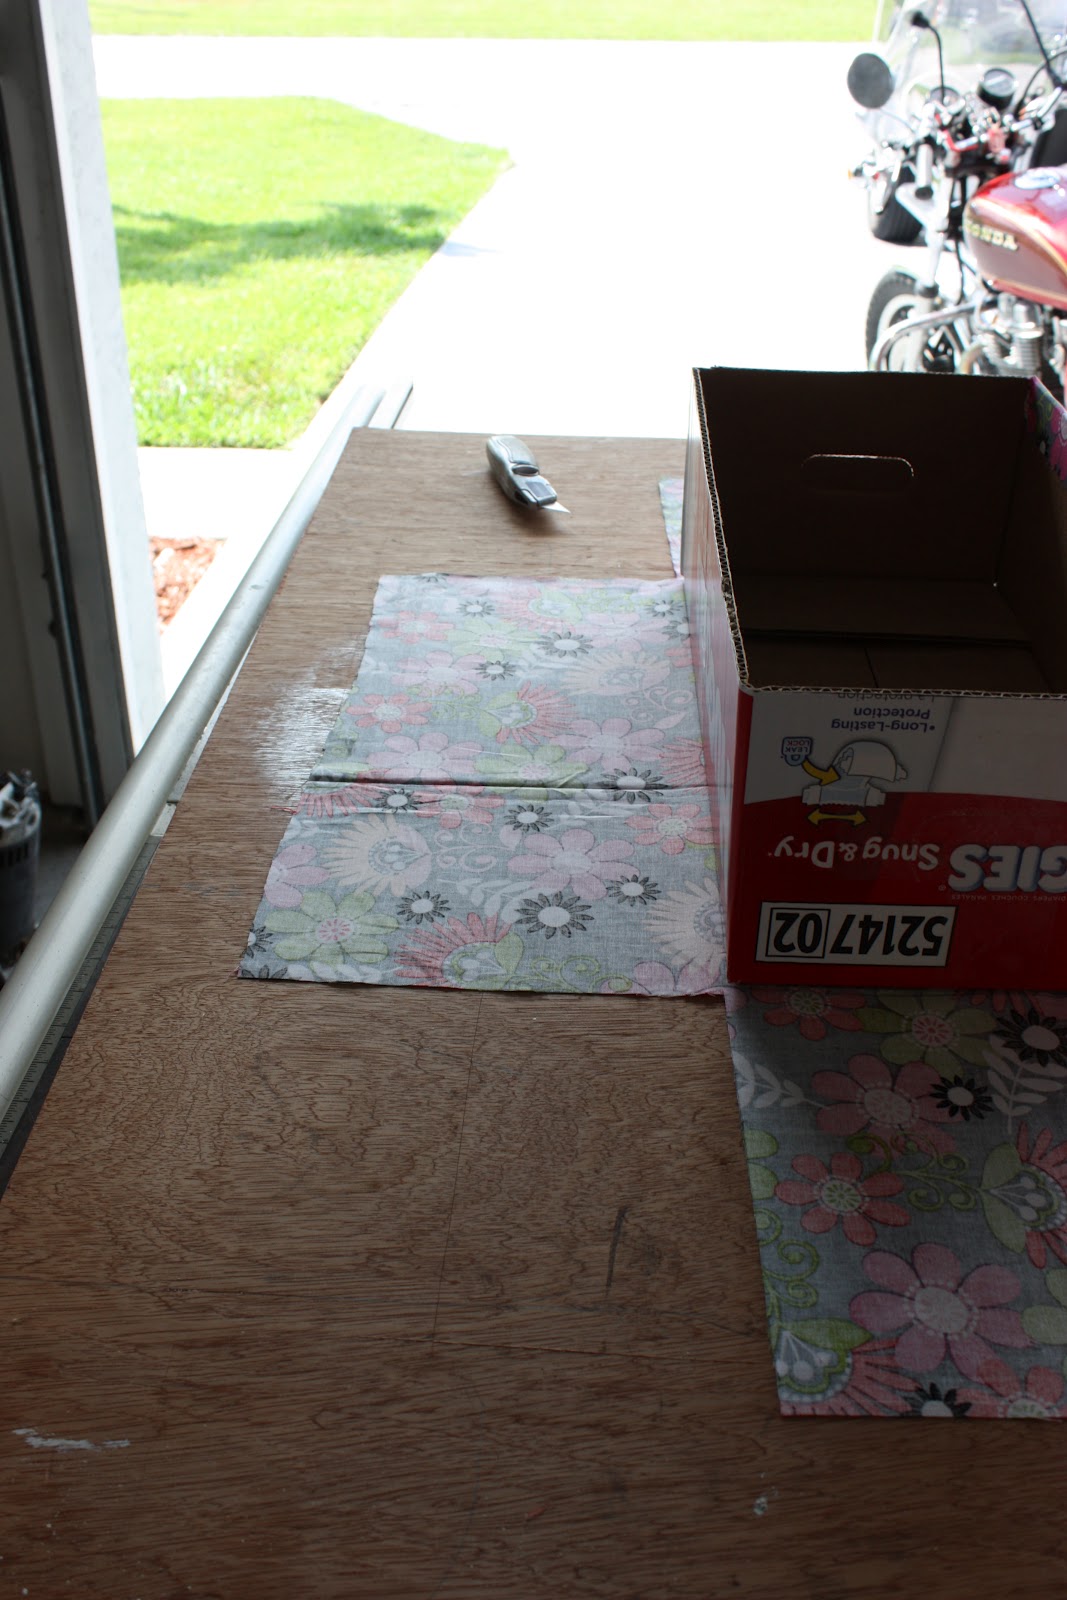
We measured and marked where the box would fit on the material - then covered the material outside the "box" with newspaper to keep the adhesive from getting all over the rest of the fabric.

After we glued the material on the bottom it was time to trim the sides so we wouldn't have a lot of excess to worry about.


By the time we got to the second box we had it all figured out and cut everything to size before gluing anything. (Smart, huh?)

Then it was just spraying the fabric and the box - then pulling the fabric up tight and smoothing it out on the box.
Really VERY easy.
We covered all three boxes in about forty-five minutes.
(You know, it is really very hard to take pictures and work on a project at the same time. My job on this project was holding the material and helping in smoothing it out after is was placed on the box. Not a whole lot to this project!)

I did bring them inside the house and take a couple of pictures before we delivered them to the nursery.
Don't you just love the bright, cheerful colors?

Here they are in their permanent home.
I'm sure they will soon be filled with diapers, burp clothes, or blankets.

You always need extra storage in a nursery!
I hope you have a fabulous Holiday weekend!
Be safe and I'll see you Monday for the Menu Plan!
Hugs-
Carol
I'm linking to some of these fabulous parties:


Don't you notice in that last picture - the black box already is full of diapers :)
ReplyDeleteThanks again to you and Mountain Man for all you've done for us!
Love you!!!
You know that we enjoy helping out with everything for you, Justin, and the baby! I'm just glad you let us help!
DeleteHugs -
Mom/Nana (Carol)
P.S. We love you too!!!
These look great! Fab upcycling!
ReplyDeleteThanks so much! Don't you just love it when you can make something pretty out of something that was going to be thrown away? I sure do!
DeleteHugs -
Carol
How did you get the edges done so nicely? Looking at the cut pieces it doesn't appear you left some "overhang." Help me on this because I would have ugly edges!
ReplyDeleteHey Donna - with the fabric adhesive that we used it really stuck the sides down well - I had to trim a few loose strings, but we were surprised at how well it all came together - We had talked about using some bias tape on the corners, but we didn't need them (at least so far). Maybe I need to go back and post some close ups of the edges?
DeleteHugs -
Carol
What a great project. Love the polka dots mixed with the flowers!
ReplyDeleteHave a great sunny weekend (even Canadas East is finally getting warmer ;o)),
Sue
Hi Sue - thanks, Melissa likes the polka dots with the flowers - we thought it picked up the polka dot flower in the pattern.
DeleteNow, as far as the weather goes - it is 95 degrees here - HOT, HOT, HOT!!! We are hoping for some rain from this sub-tropical system on Monday - LET IT RAIN, LET IT RAIN, LET IT RAIN!!!!!
Hugs -
Carol
Carol, the covered boxes are the bomb, as they say. What's even better is that you got Mountain Man to do it. The best way to go is to pawn things off on others when you can. Ha! The important thing is it's done and so cute! Thanks for stopping by Quirky Vistas to comment on my Rascal post. I've now posted the outcome of his stay at my rehab for wayward bedside tables. Hope you'll come back by and see the changes in the little rascal.
ReplyDeleteLiz
Thanks so much Liz - Can't wait to see what you did with that little rascal - I'll hop right over!
DeleteHugs -
Carol
Thanks for coming back by Carol. Yes, I think the little guy is a keeper. I appreciate your encouragement!
DeleteLiz
Love what you have done Liz!
DeleteHugs -
Carol
SO CUTE! We LOVE your version of the boxes! Thank you for stopping by our blog! We are now following you!
ReplyDeleteBrooke from babblingsandmore.com
Thanks so much - I appreciate your kind comment and I'm so happy that you are following along now! Welcome!
DeleteHugs -
Carol