Showing posts with label DIY project. Show all posts

Friday, November 16, 2012

New Fall Wreath

Last year I made a wreath for the front door.


We are now in a different house and I just didn't want to use the same wreath.

So, after seeing hundreds and hundreds of wreath ideas on Pinterest I decided to make a new wreath for the new house.

Now, I wanted something different from anything I had done before and I found, what I thought would be the perfect one.

Cornucopia Wreath


Here is a link to my inspiration:
http://www.bhg.com/thanksgiving/outdoor-decorations/holiday-wreaths/#page=10

Here is my version.


So, what do you think?


Would you like to know how I did it?

Well, a couple of weeks ago I went to the Beall's Outlet store and found two bags of the faux gourds and a garland of fall leaves.

I already had the straw wreath and a spool of fall ribbon.

 I wrapped the straw wreath with the ribbon and then wrapped the garland around the wreath.

Next, I got out my hot glue gun and just started gluing the gourds on the wreath.


So, do you think I succeeded in making this one like my inspiration?

One more time - 

my inspiration:

Cornucopia Wreath

My version:


Have a great weekend!

Hugs -

Carol

I'm linking up at:

http://www.atthepicketfence.com/2012/11/welcome-to-inspiration-friday-no-90.html
http://katherinescorner.com/2012/11/15/thursday-favorite-things-blog-hop-62/
http://kristenscreationsonline.blogspot.com/2012/11/share-your-creations-party-63_1244.html
http://chiconashoestringdecorating.blogspot.com/2012/11/flaunt-it-friday-127.html
http://www.504main.com/2012/11/tickled-pink-no-123.html

Friday, November 2, 2012

Another Pinterest Idea

I know - three posts in one week!  Hey, maybe I'm getting my groove back (but lets not bet on it!)

Okay, I have been busy doing some things - believe it or not.  I decided I would share something that we have all seen on Pinterest - it was all the range this past summer.  It seemed like every other post was doing this one single craft.  So, what am I talking about - converting your pictures to an "engineer print" and then mounting it on wood.

Well, when we moved into this "little bitty" house we had a problem in the master bedroom.  The space that we had to put our king size bed meant that the room was "off kilter" - you know, it couldn't line up with the window on the wall.  I thought and thought about how I (we) could fix this without spending a ton on money on curtains.  (I had thought about putting curtains along the whole wall, but that would have cost a FORTUNE! - not really an option.)  

So, what to do?  

Then I remember those posts and thought - why not give it a try.  Every post said the engineer print was really cheap and easy and Mountain Man is really talented.

Here are pictures of the bedroom before we moved in.

The door you see here leads into the living room.
We couldn't put the bed on this wall.

I tried the desk unit - but that just didn't look right so....


The wall to the right is the only wall where we could put the desk unit where it actually was functional.  The wall had the cable hook up and we were able to set up the Internet there - so no bed on this wall.


This left two other walls - the one that I don't have a picture of is the one that has the door way into the bathroom and the walk in closet.
That wouldn't work.

Soooo, that left this wall ------


You would think that this wall would be perfect and that you could set up the bed directly under the window - wrong!  The dimensions of this room was not meant for a king size bed and two night stands.
You have to have room to walk into the bathroom - so what to do???

Ah Haaa!  

Pinterest!

Engineering print project.  

Now, I have to admit I didn't 'pin' this project so I can't give credit to the original person who came up with this idea - if you know, please let me know so I can give credit.

So, I went online and ordered a print from Staples - we do not have a Staples in our area, but there is one in Lakeland and I have a son-in-law who works in Lakeland. (insert smiley face here.)

Now, what they don't tell you on Pinterest is, it's not that easy to order an engineering print online - at least, not for me.  Trying to find the right picture that would actually enlarge to the size I wanted was not a piece of cake, but I kept at it till I finally was able to get the picture downloaded.
Justin went the next day after he got off work and picked the print up for me.

Now, I was not sure what to expect, but I was pleasantly surprised.  It really turned out pretty well.

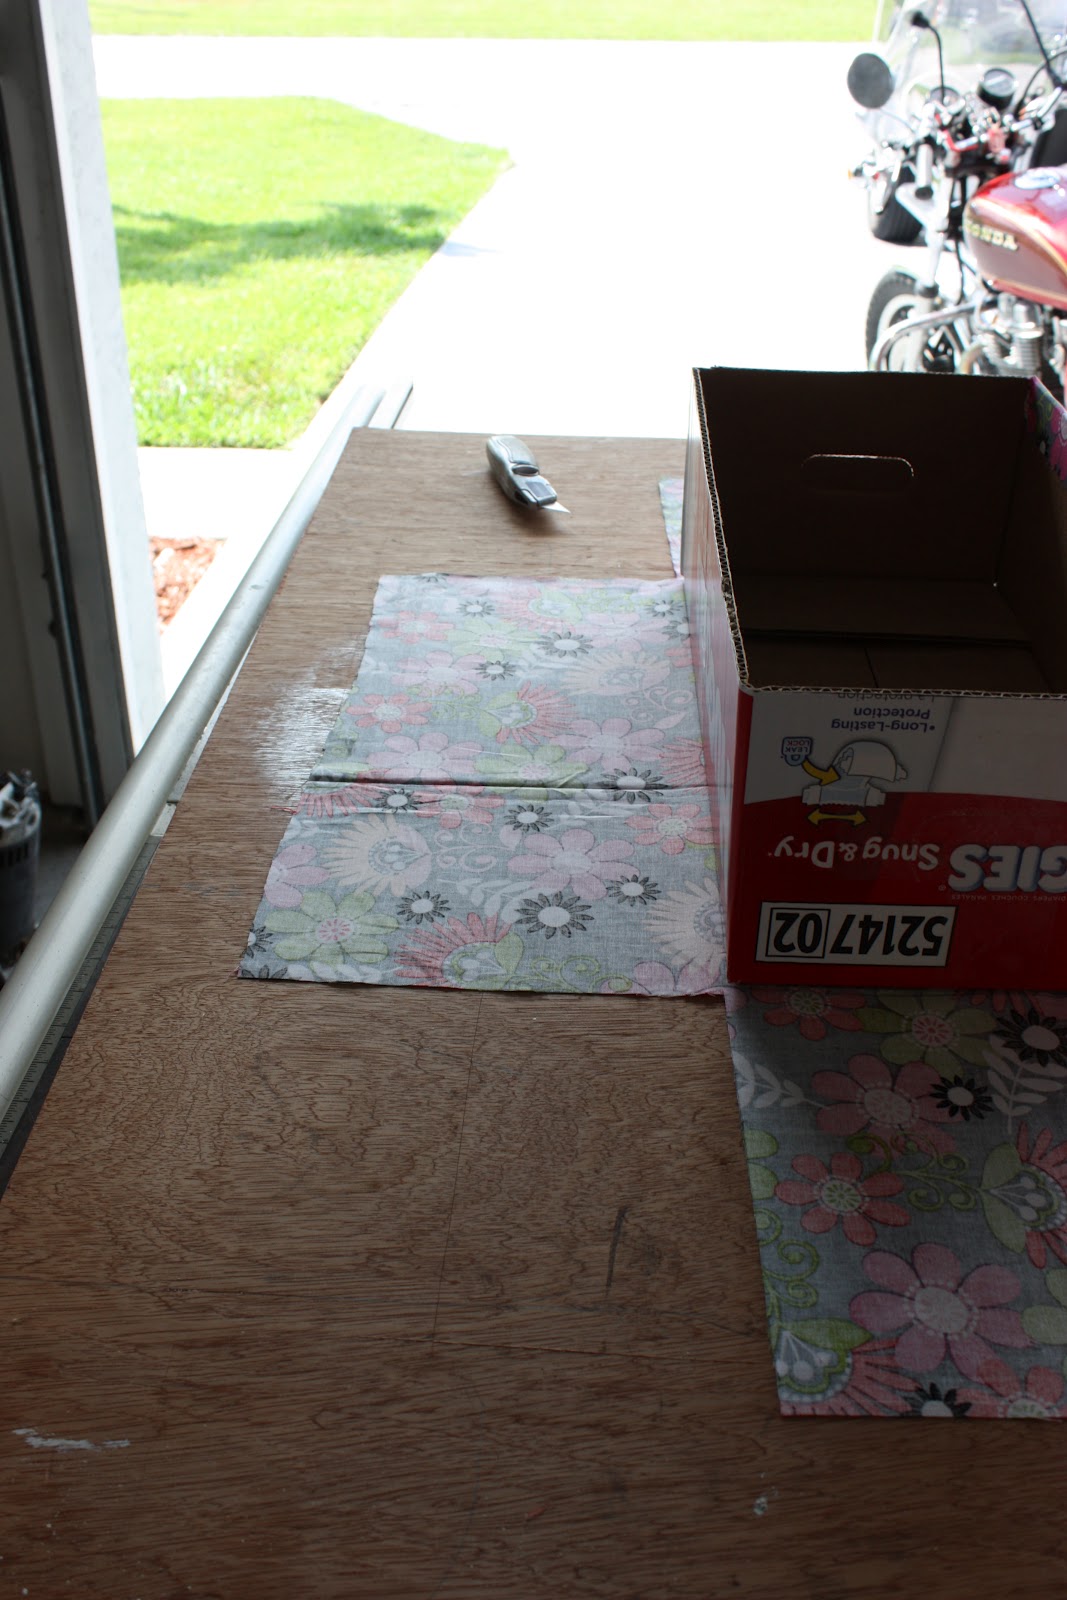
So, the next step was to go to Lowes and get the wood and trim.

Now, while I was pleased with the quality of the print - it still was not the correct size - we had a border of white and that wasn't the look I was going for.  So, while Mountain Man cut the board to size and painted it the wall color, I trimmed the white border off the print.

Off to the garage we went.

Here you can see the print, the board, and the trim - along with the paint and spray adhesive.


Close up of the print.  See all the wood that is showing - well, we have a solution for that.


Lately, this has been my friend.  Seems like every project that I do I need spray adhesive.


Print glued down.


Okay, now I don't have any pictures of the next steps - Mountain Man decided to go out and get everything finished without letting me know.  (Sometimes I think he does that on purpose, so I don't see all his little secrets!)

So, I'll just have to skip to the finished product.


Isn't it great?  
Can you even see the additional board around the picture?


 How about now?

If you look real close on the left bottom corner you can see where the additional board comes down to the window sill.


I really love the self above that I was able to decorate a little.

I can't tell you how much better the room looks now -
yes, we covered up a window.  

But, we really don't need that additional light (these pictures were taken without a flash - so I'm certainly not in the dark).

I'm really happy with the symmetry and the room looks so much better.

Now, I still might make another addition on this wall, but you'll have to wait for that one.


So, what do you think?

Think this solved our problem?

Now, as far as the Pinterest idea - I think that it worked.  You just have to be careful what print you pick - and IF you have a Staples in your town it would probably be easier (and you might even be able to get it to the size that you really want - LOL!)

Hope you have a fabulous weekend!

Hugs -

Carol


Friday, May 25, 2012

Fabric Covered Boxes


If you remember in Wednesday's post I told you that I would let you know about those pretty boxes on the shelf in the nursery.

Well, here is how we did them.  (Okay, let's be honest here - Mountain Man did most of the work on this project. but it's a team effort, right?  No, okay, I'll give him the credit - just don't tell him.)

Melissa had the idea that she wanted to cover some boxes so she could have some decorative storage in the nursery.  She had looked at decorative boxes in several different stores but didn't want to pay the price they were asking ($15.00 for a box - really????).  So, she asked me if I thought she could cover diaper boxes.  I said "Sure we can!"

So, she collected a couple of diaper boxes from her friends that already have babies.  At first we talked about covering them with scrapbook paper, but after I saw the size of the boxes she wanted to cover, I thought that material would be a better bet - and a whole lot easier!  When we were in Lakeland last weekend we went to Hobby Lobby and she bought some material she liked and we thought would look good in the nursery (on sale for 30% off!).

Now, she still was going to do the project herself, but I suggested that we use fabric adhesive, instead of the glue she was going to use.  I just thought that it would make the project so much easier and quicker.  However, she sure didn't need to inhale the adhesive fumes.  So, it went from her project to ours.

Saturday afternoon Mountain Man decided that he wanted to get this little project cranked out.  So off we headed to the garage/workshop.

First thing he had to do was cut the large box in half - we needed to make two boxes out of one.  All ready.


.
 We measured and marked where the box would fit on the material  - then covered the material outside the "box" with newspaper to keep the adhesive from getting all over the rest of the fabric.


After we glued the material on the bottom it was time to trim the sides so we wouldn't have a lot of excess to worry about.


By the time we got to the second box we had it all figured out and cut everything to size before gluing anything.  (Smart, huh?)


Then it was just spraying the fabric and the box - then pulling the fabric up tight and smoothing it out on the box.

Really VERY easy.  

We covered all three boxes in about forty-five minutes.

(You know, it is really very hard to take pictures and work on a project at the same time.  My job on this project was holding the material and helping in smoothing it out after is was placed on the box.  Not a whole lot to this  project!)


I did bring them inside the house and take a couple of pictures before we delivered them to the nursery.

Don't you just love the bright, cheerful colors?


Here they are in their permanent home.

I'm sure they will soon be filled with diapers, burp clothes, or blankets.


You always need extra storage in a nursery!

I hope you have a fabulous Holiday weekend!

Be safe and I'll see you Monday for the Menu Plan!

Hugs-

Carol


I'm linking to some of these fabulous parties:

Where does time go?

I have really fallen off the blogging wagon I guess.  I can't seem to get a schedule down so I don't post - but it's been almost...